

How to Install WordPress Using XAMPP
WordPress is an easy to use Content Management System which will help you to build a website ranging from a simple blog to a e-commerce website. It’s is widely used and have a very active community working on improvements. Above all it’s totally free and opensource.
XAMPP is a completely free, easy to install Apache distribution containing MariaDB, PHP, and Perl.
By using above components you can develop a website in your own PC without worrying about hosting or data usage.
In this tutorial we will discuss how to install WordPress using XAMPP
- First you have to download XAMPP. You can download it from https://www.apachefriends.org

- After downloading, run the setup. You might get following message if you have an antivirus system installed. Click Yes to continue with the installation.

- After that you will see the following screen. Click Next to continue.

- You might get a warning message if you have User Account Control activated in your computer. Avoid installing XAMPP into Program Files folder if you have UAC activated. Click OK to continue.

- Select all the components and click Next to continue.

- Select the location to install XAMPP

- Uncheck the check box if you don’t want to learn more about Bitnami for XAMPP. Click Next to continue.

- Click next to start installing.


- After installing click Finish to run XAMPP Control Panel.

- Select the language and Click Save.

- If all the above steps had finish successfully, you will see the following XAMPP Control Panel.

- Click on Start buttons for Apache and MySQL to start those services.

Now you have successfully installed XAMPP in your computer. Next step is to install and configure WordPress.
- First you have to download latest version of WordPress. You do that by visiting https://wordpress.org/ and clicking Download Now or from here.


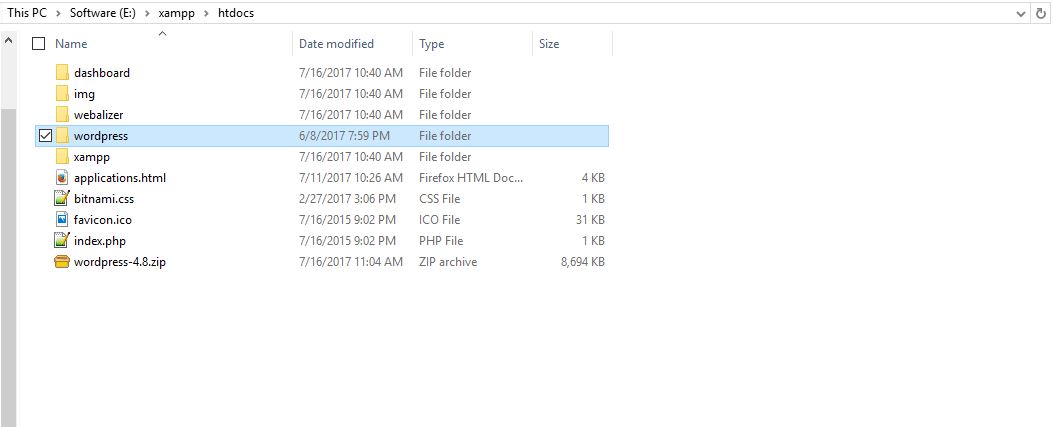
- After downloading the file copy and extract it into htdocs folder in XAMPP install location.

- Open your favorite browser and type in the URL 127.0.01/wordpress. This will take you to the following page. Select your language and click continue.

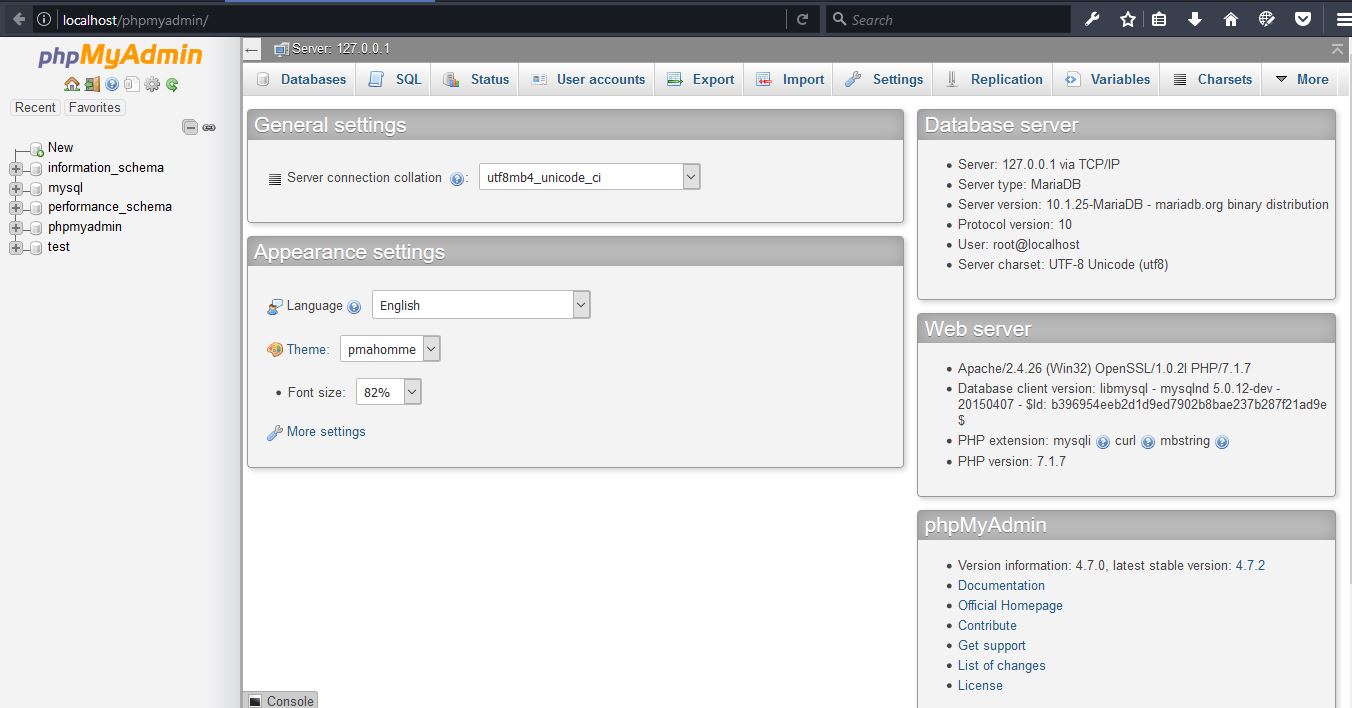
- Then we have to create a database to connect to WordPress. For this go to your XAMPP Control Panel and click on admin button in front of MySQL or type in the URL 127.0.01/phpmyadmin. This will open the following tab in your default browser.
- Click on New in the left side bar to open the following interface. Type in your database name (In this case ksoftlabs_wp) and click on Create.

- This will create a new database. Click on it to enter the database.

- Click on Privileges tab to see the User having access to your database

- Click on Add user account to create a new user. Enter a user name and a strong password.

- Click on Global privileges or give All Data,Structure and Administration privileges.

- Click on Go to create the new user.

- You will see a success message at the top of the screen if the user created successfully.

- Now go to the WordPress tab and click on Let’s Go

- Enter the Database Name, User Name and Password at the required fields and click submit.

- You will see the following screen if your entered data is correct. (If you get an error saying can’t select the database even if the Database, User Name and Password is correct, you may have to edit Users in phpMyAdmin. An article about that will be available soon.) Click on Run the Install.

- In following screen some basic data will be requested. Fill the required data and click on Install WordPress.

- If installation was successful you will see the following screen. Click on Login or visit URL 127.0.0.1/wordpress/wp-admin to login to your WordPress dashboard.

- Enter your Username and Password and click login.

- If you have follow the above steps correctly you will see the WordPress Dashboard.

- Congratulations ! You have now ready to develop a WordPress site in your computer


